|
|
Post by FredTransit on Jan 6, 2014 12:59:09 GMT 1
Sorry chaps we can no longer use direct uploading without paying for it. I dont want to do that so we will have to do it the old fashioned way and use hosting. I use a free account at www.photobucket.com to upload is no harder than attaching to an email.once signed up you click on the 'Upload' button top right of the page Click on the 'choose photos and videos' button. This brings up a box that shows (once you have selected your photo file) the pics you have on your computer. Select one (similar to attaching a pic to an email) and then click on the thumbnail when it's uploaded. This takes you to a new page, with a bigger version of the image, and to the right of it are a list of codes. Click on the one labled IMG and copy it. Then go to your post, put your cursor where you want the image to be. Right click and select paste. This will put the image code in your post. Any probs just ask. |
|
|
|
Post by sharon on Aug 14, 2015 17:16:25 GMT 1
HI Folks,
I have a MK1 1974 Transit Campervan. I bought her as a wreck & have slowly been restoring her over the past few years.
I started on the camper as she was leaking badly & was already drive-able. She was leaking from the roof on the right hand passenger's side over the cab. Unbeknownst to me she was rotted through, so I had to replace the roof, left hand side & the back. Still keeping the original windows & entry door. Being a crazy fisher person, I put up the long PCP pipe you can see on the side to hold my rods.
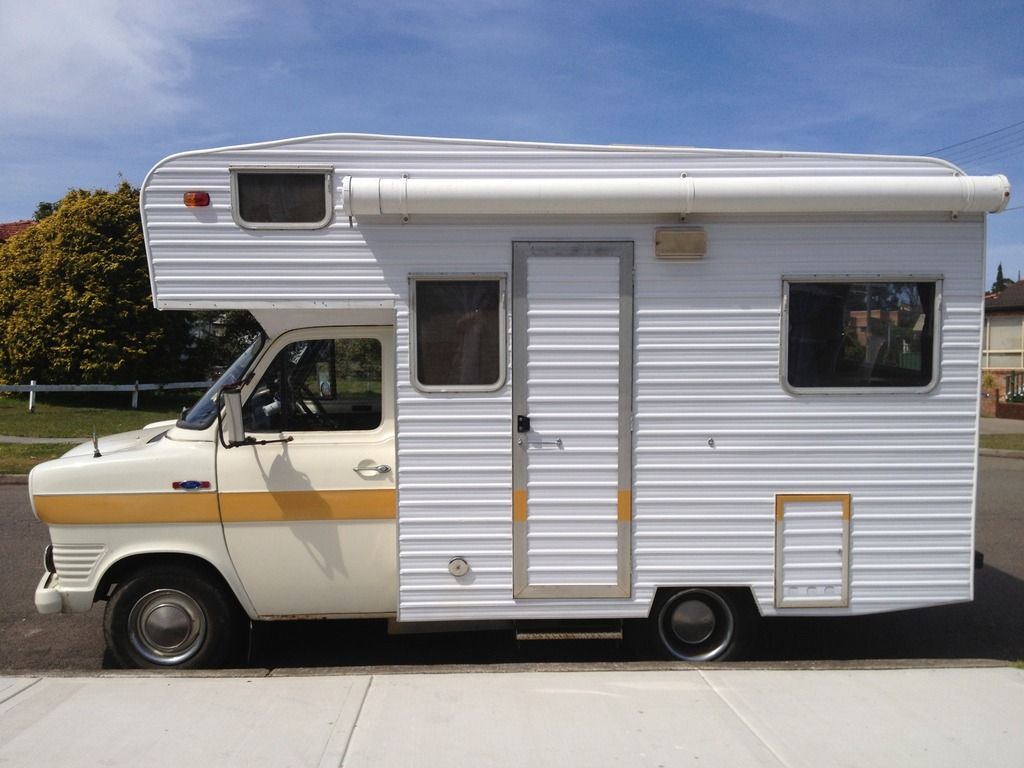
After I had the roof, left hand side and back replaced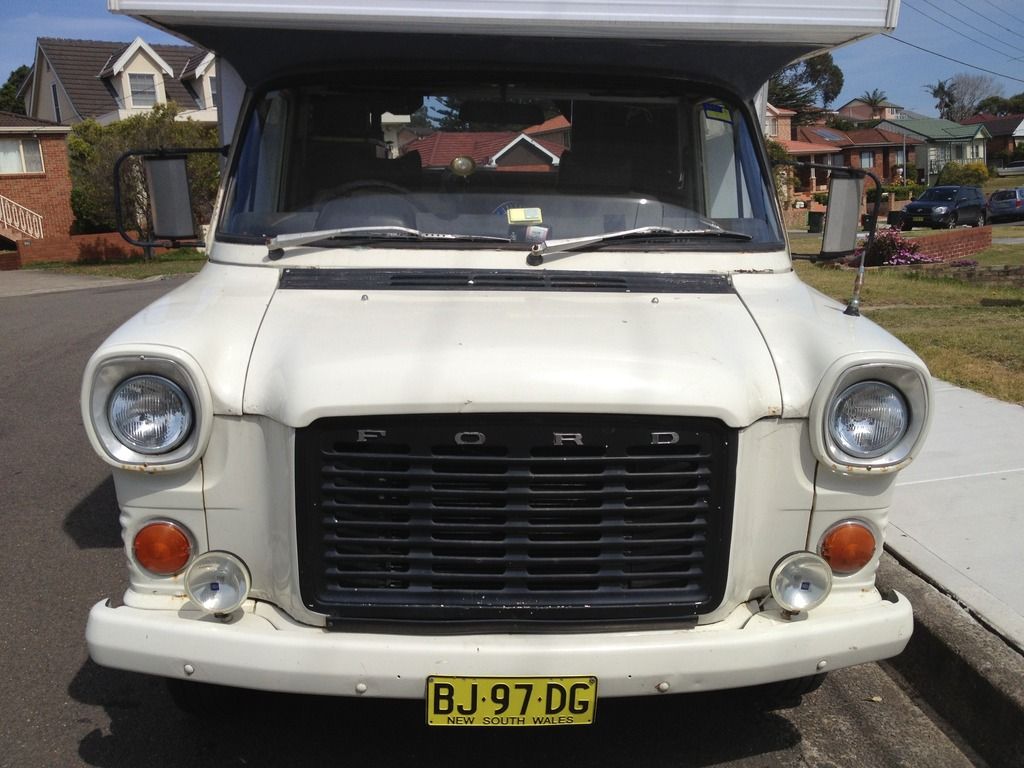 Front View 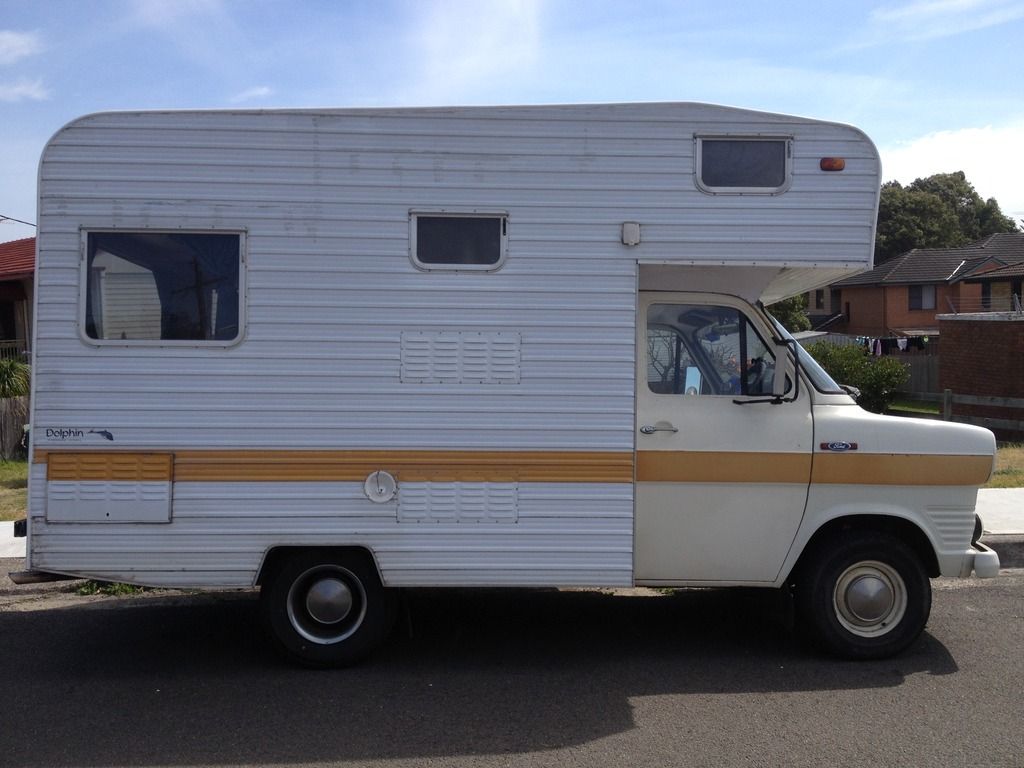 The good side which didn't need replacing 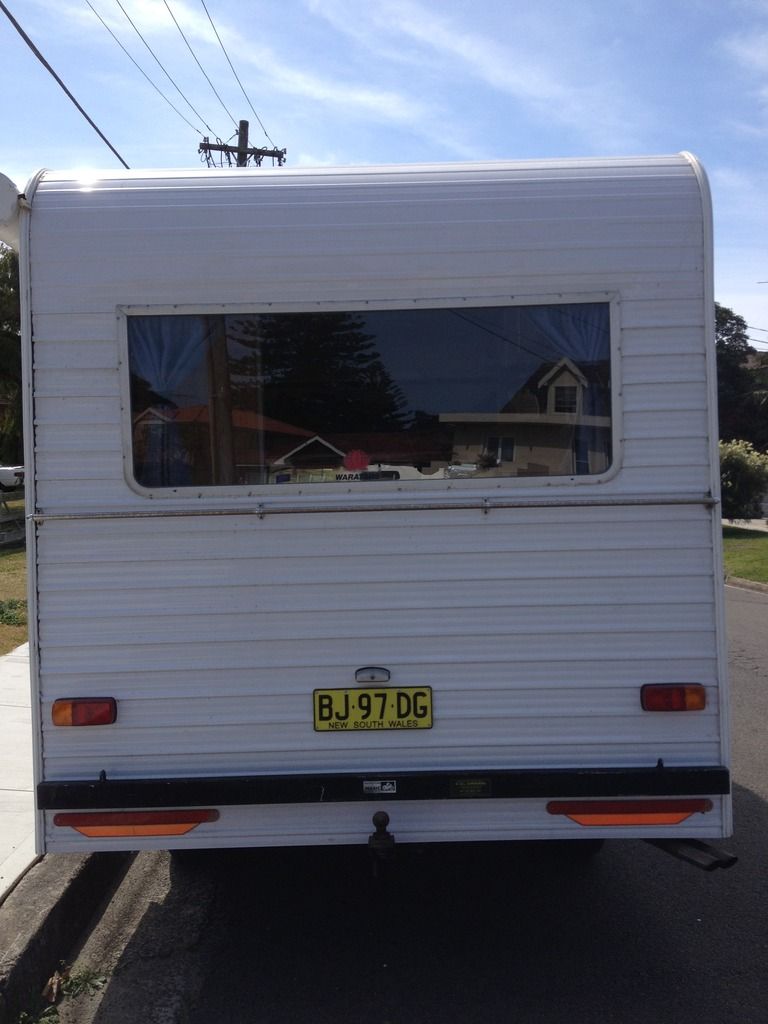 The back 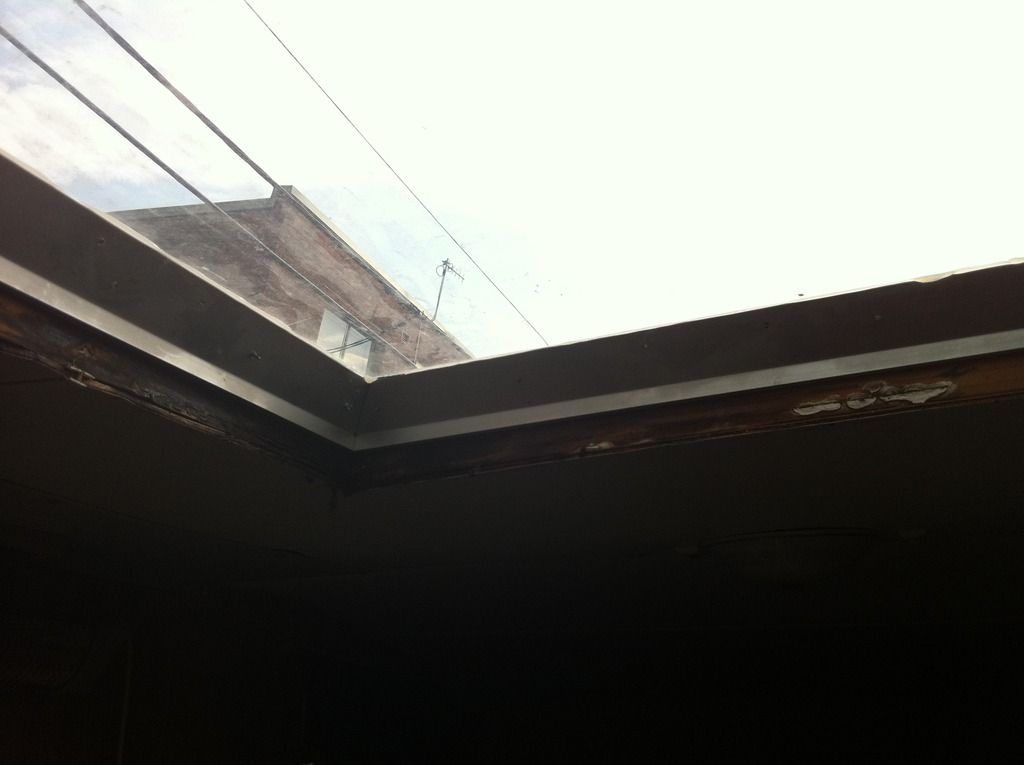 Rotted wood around temporary sky light 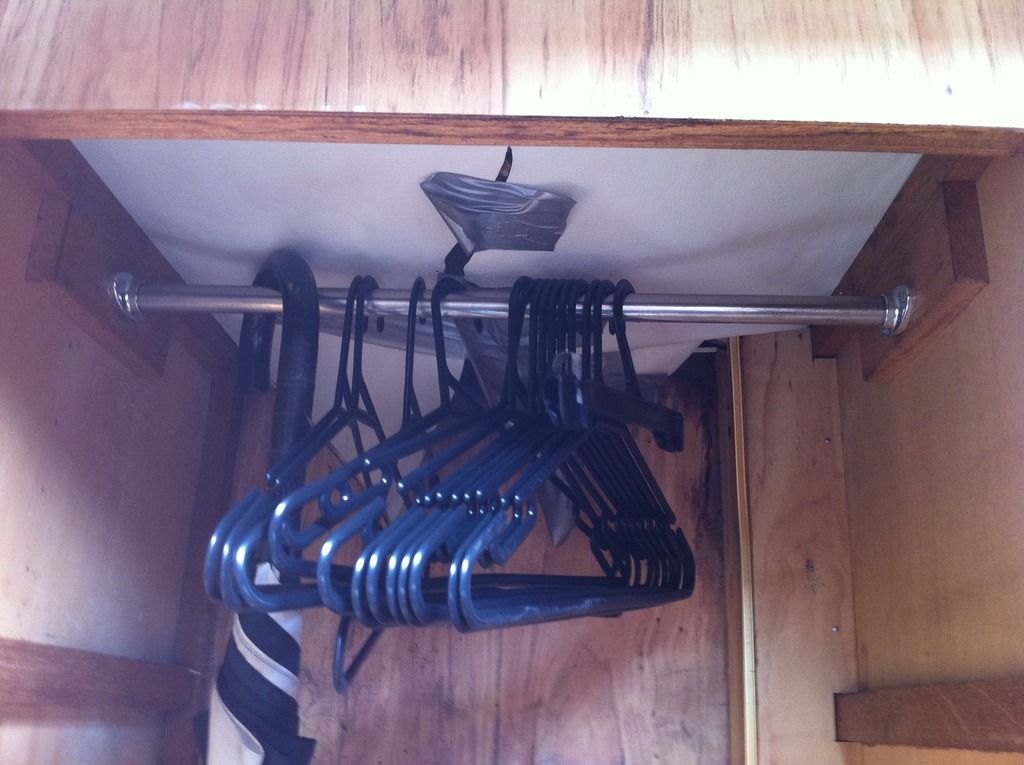 Roof falling in  Mold everywhere 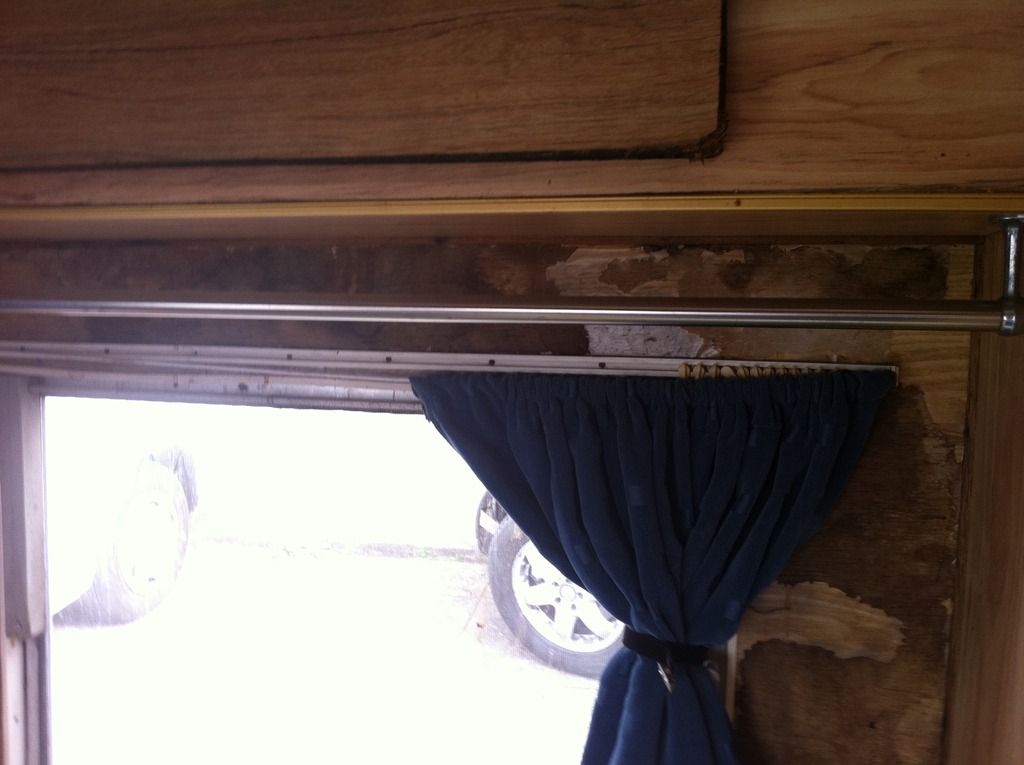 More rot & water damage 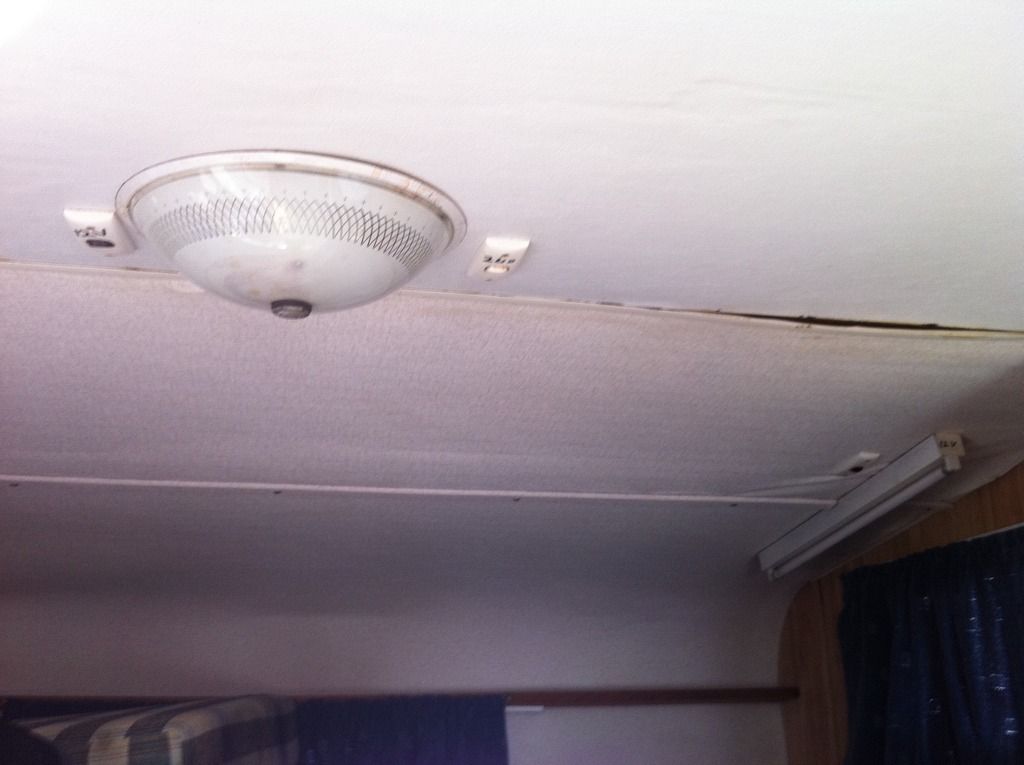 Rotted front roof 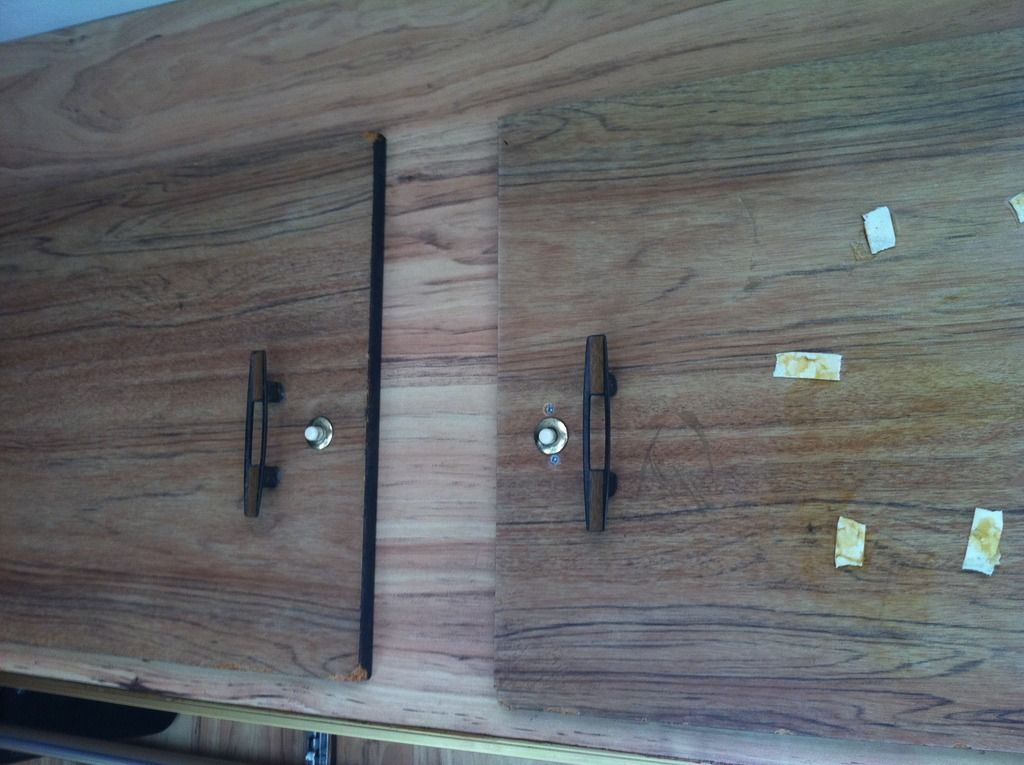 Old cupboard doors 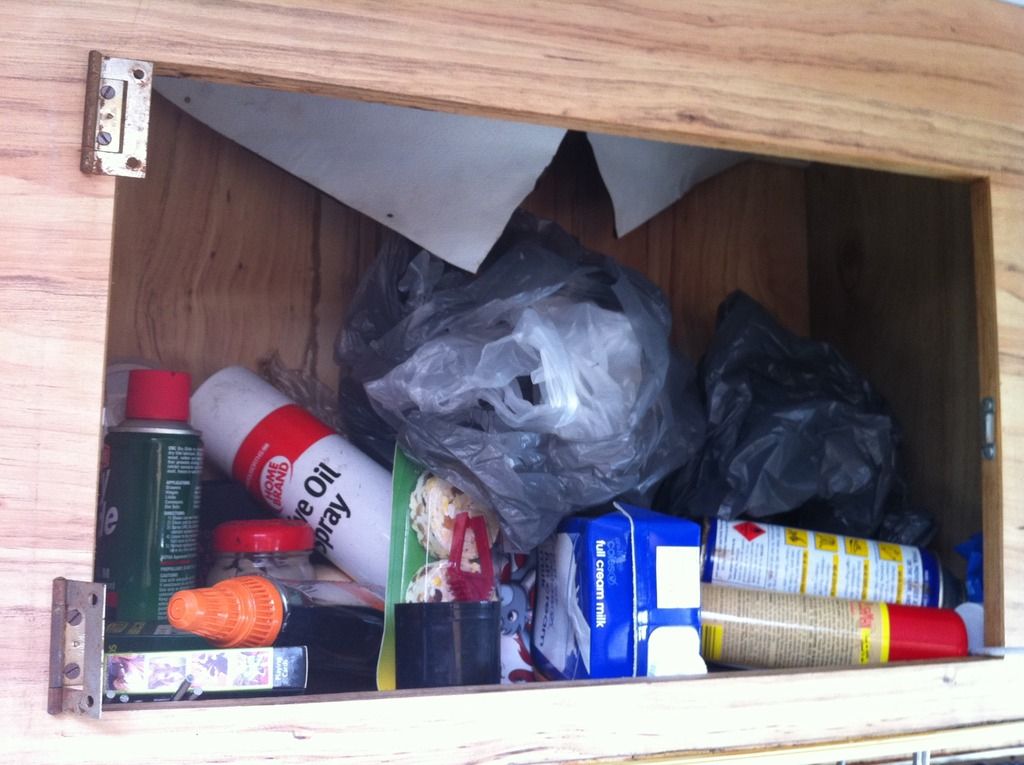 Door fell off, rotted roof caving in 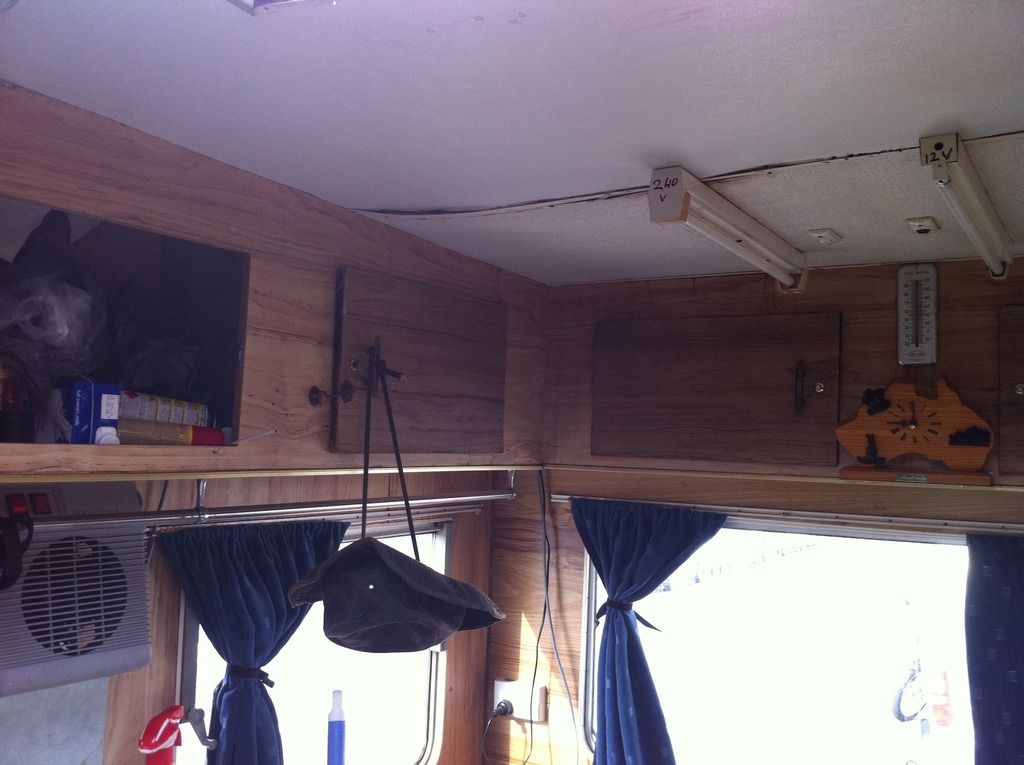 Roof rotted all the way to the back  Better view of how damaged the roof was  Smelled too 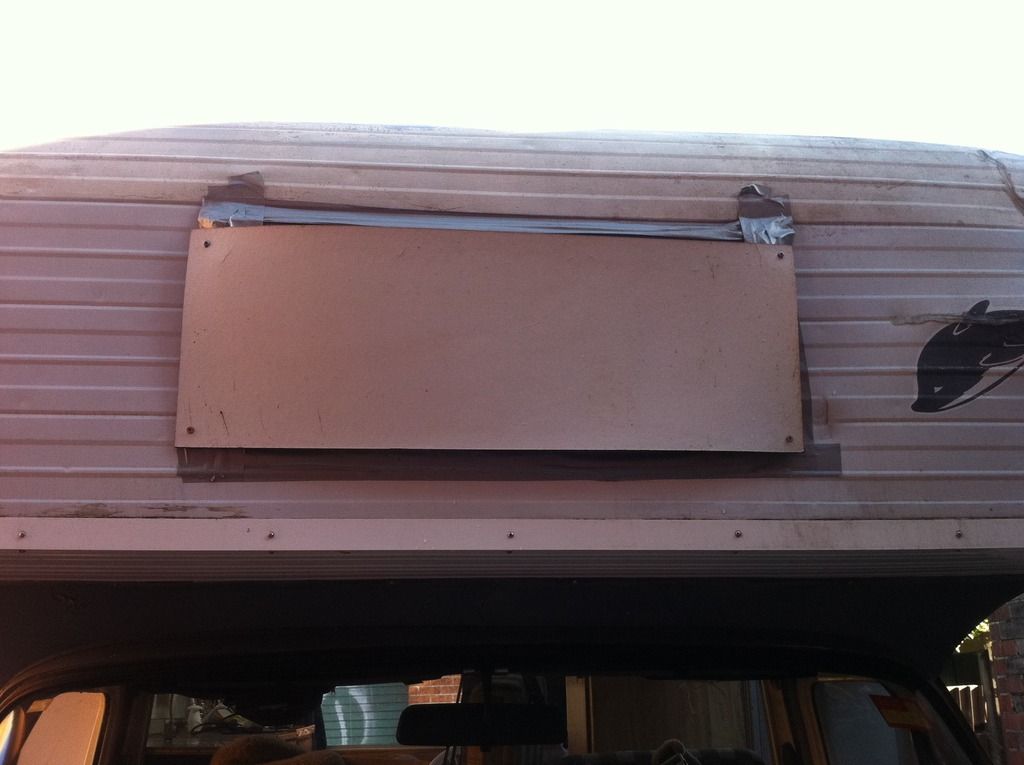 There used to be a front window. Broken & leaking Afterwards inside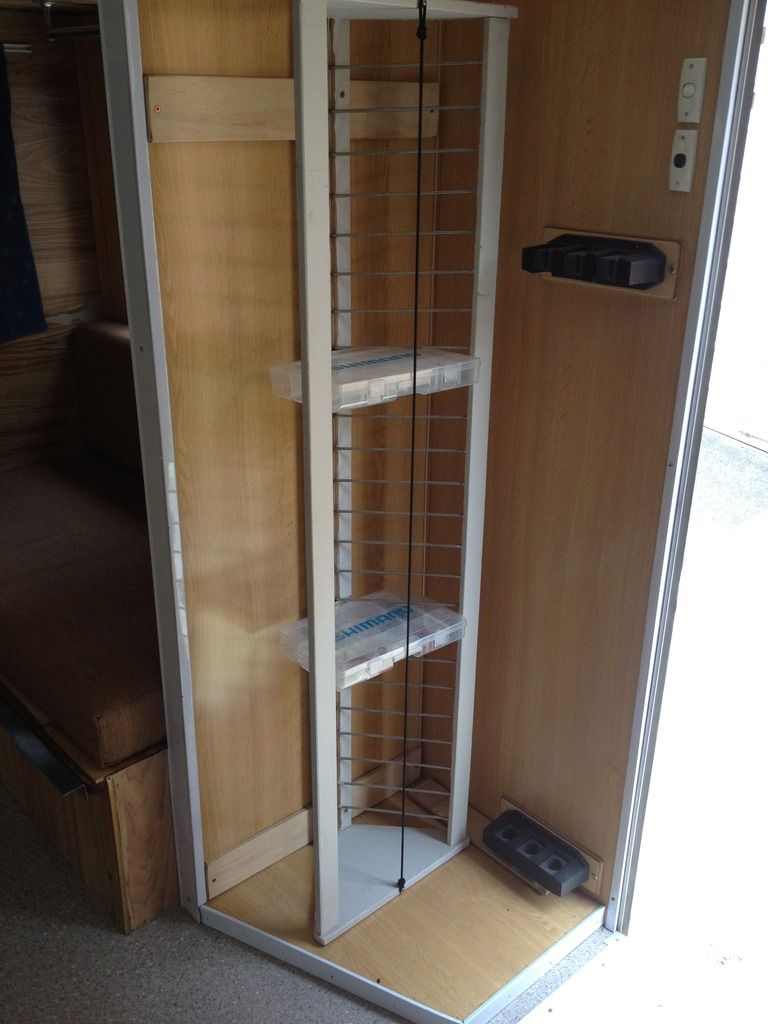 Got rid of the cupborad & put in a fishing tackle rack 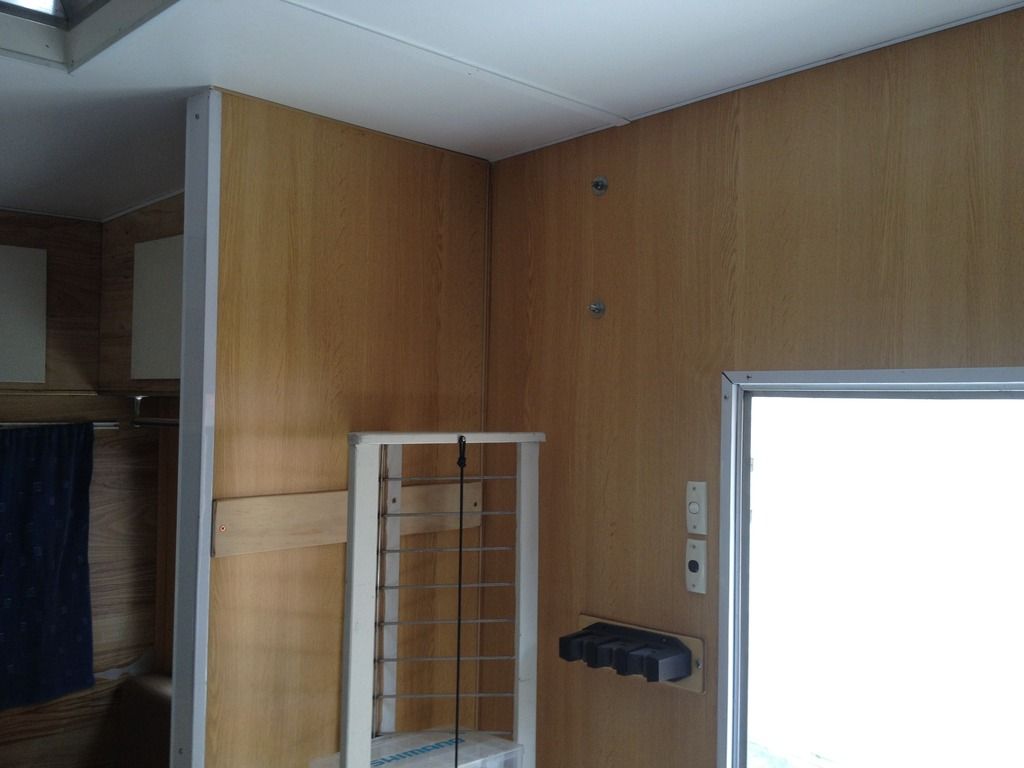 Top view 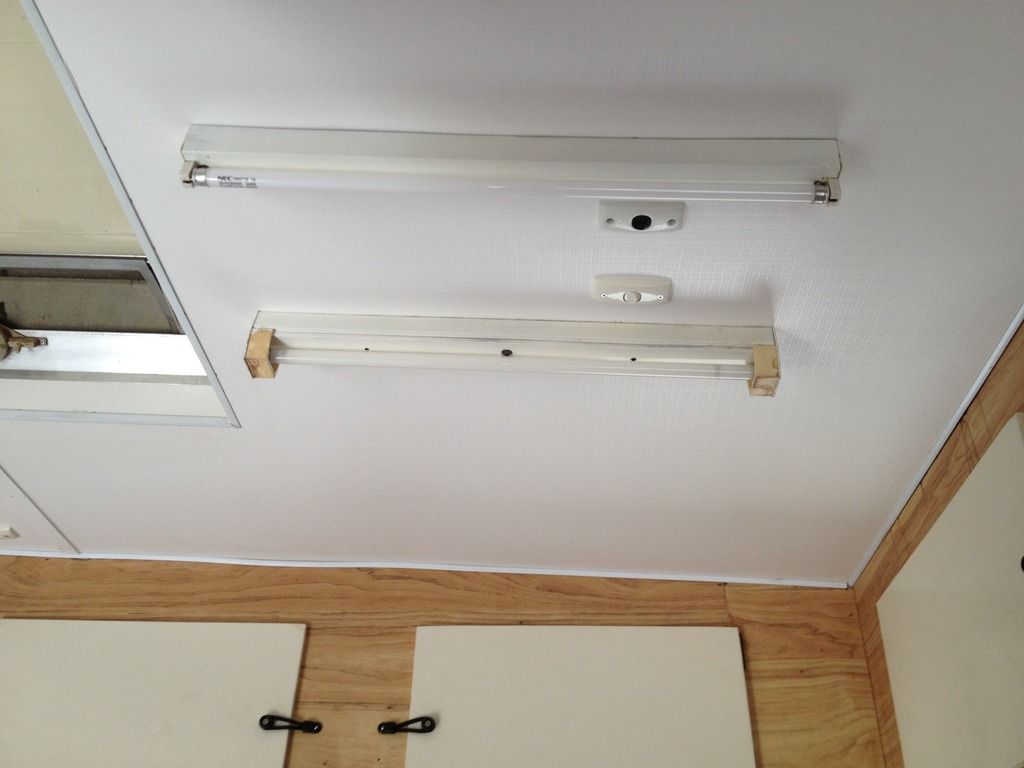 New roof 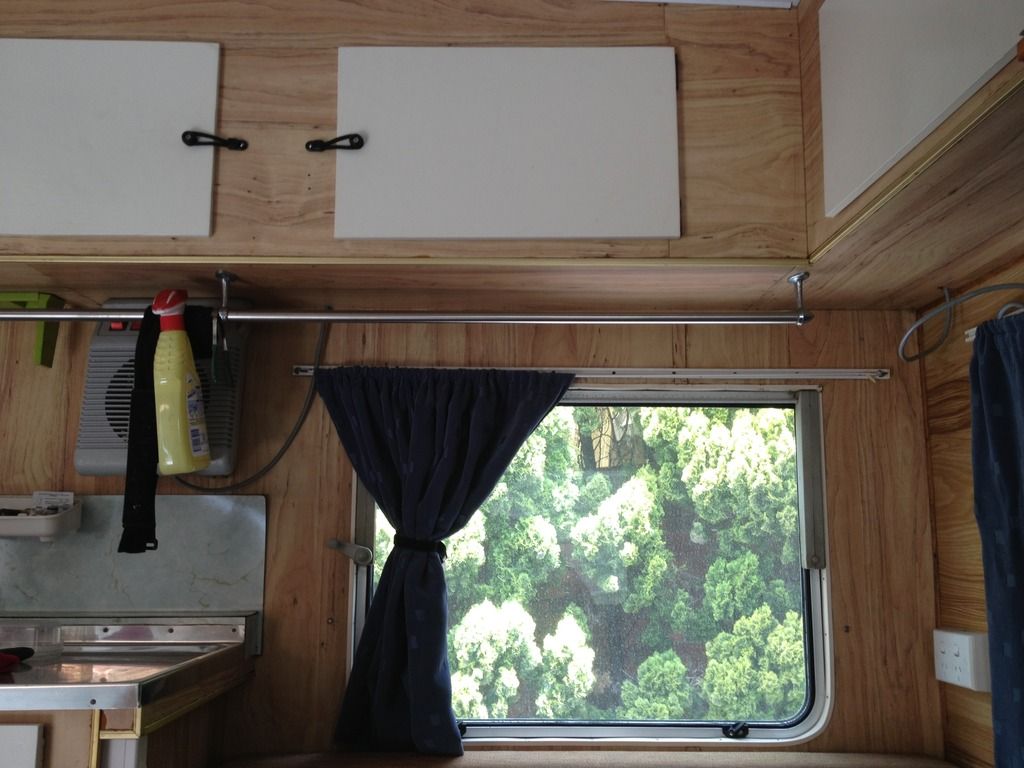 Driver's side view 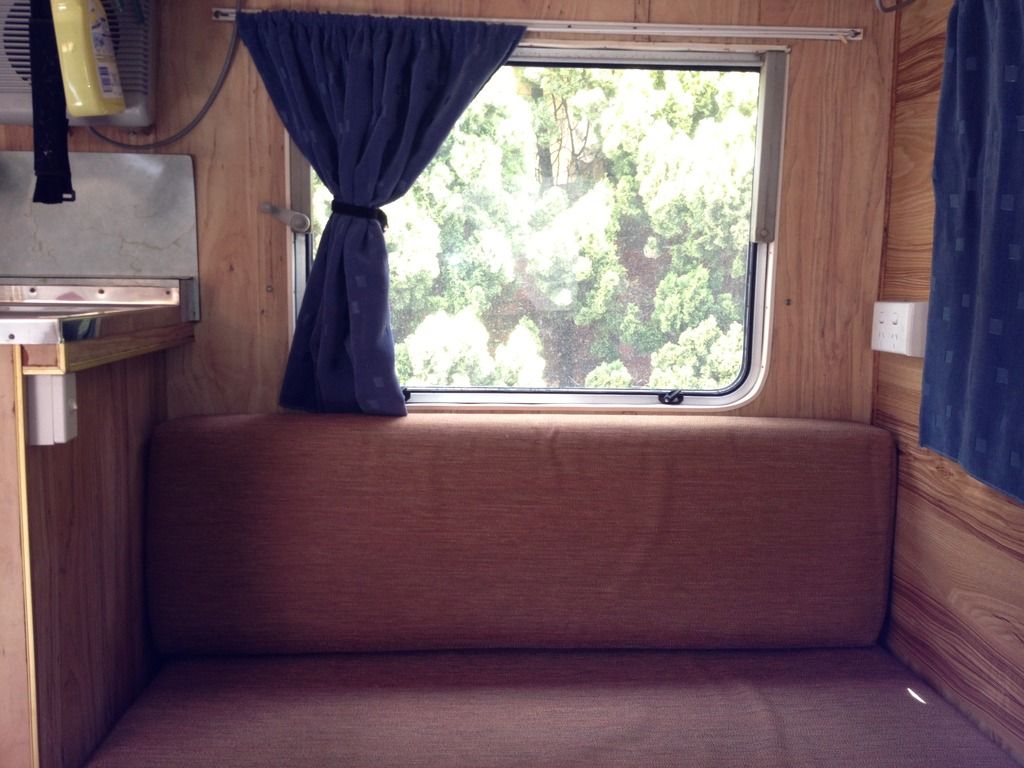 New upholstery 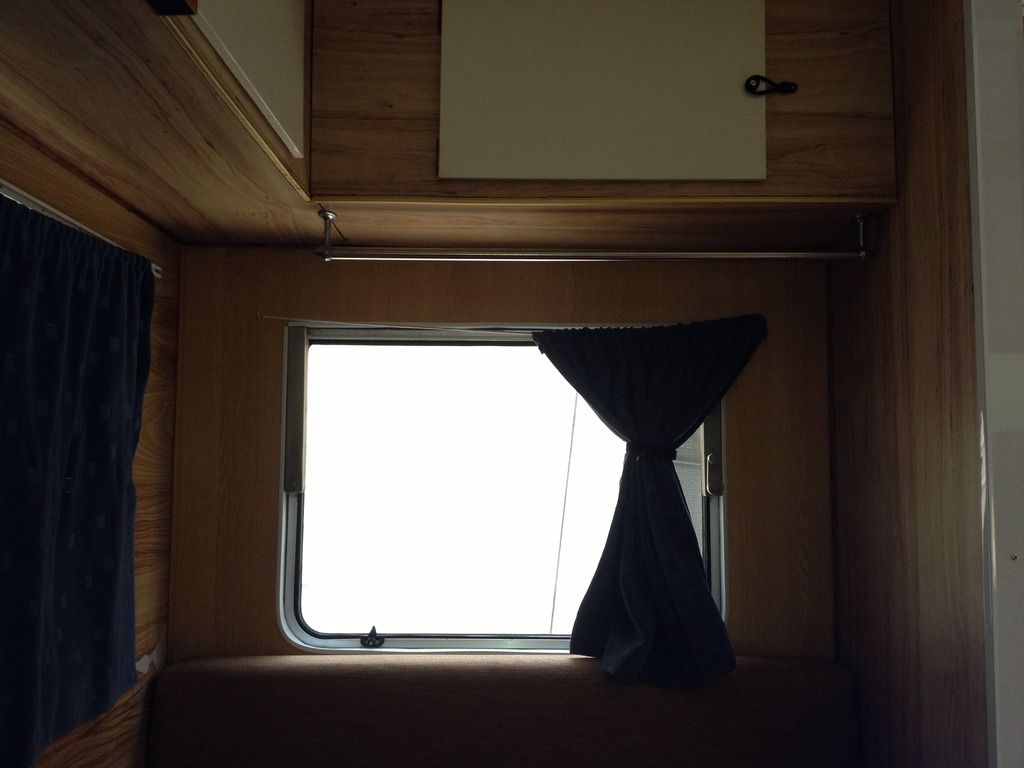 New passenger's side  New sky vent 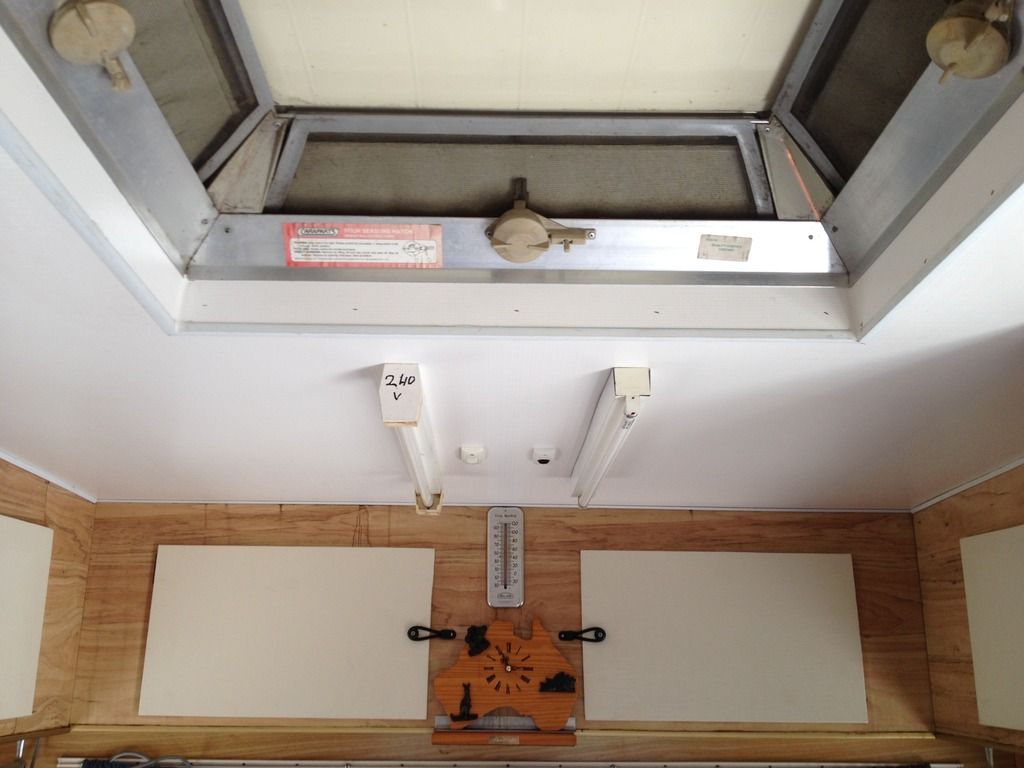 Better view 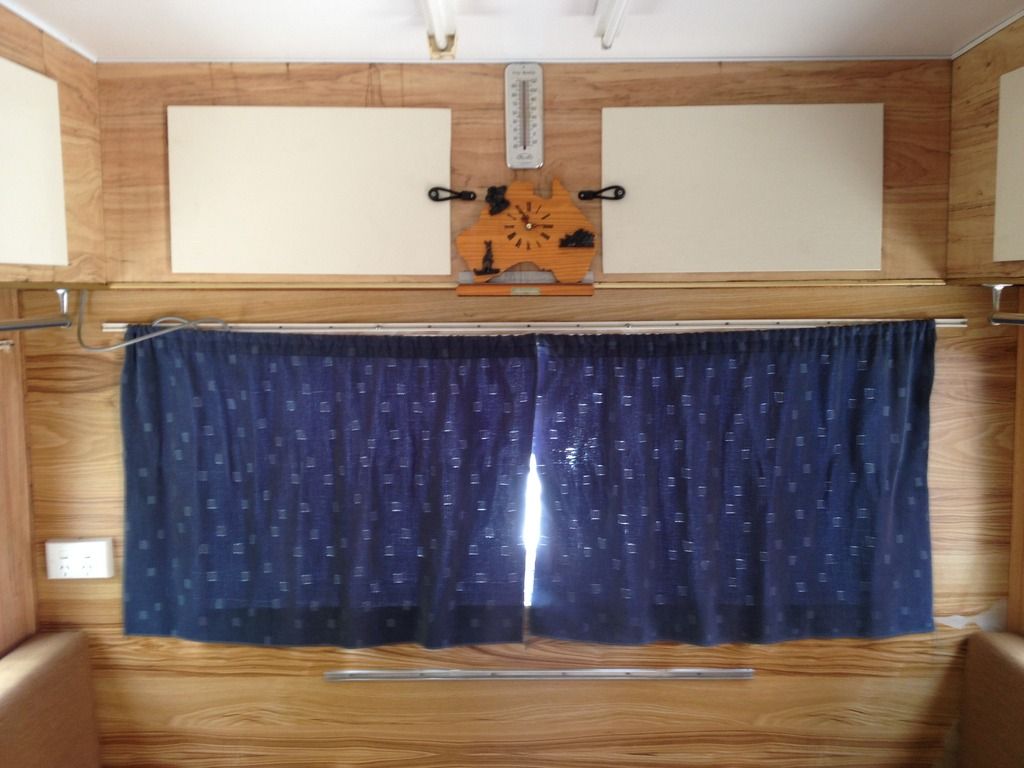 Rear section 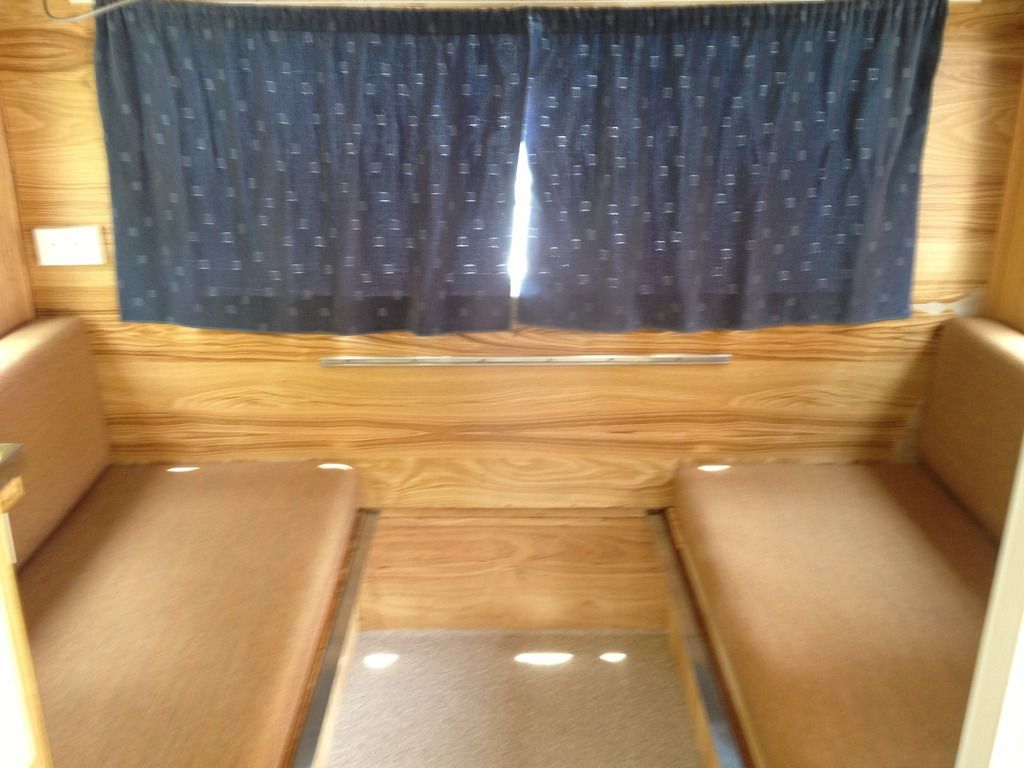 Without table You’ve got to have tunes for your ride, so I put in a new stereo with blue tooth capability & USB so I can charge my phone & talk safely while on the road. New speakers for the back, the front speakers were already great.
After that, I did what I could inside, like change the cupboard doors from terrible cheap chipboard to marine pine. Every time you opened a door, chips of wood would flutter down over everything. There was so much fake wood grain, I just painted them white. To break things up a bit & brighten it up.
I slowly replaced the wood under the seats, as it had also seen better days too. I reupholstered all the cushions with an industrial water & fire resistant fabric which I got for a song & in just the right colour too. Lastly I replace the linoleum floor and man did that make a huge difference! It made everything pop & look new & fresh. The last thing I need to do is make new curtains which I hope will make a huge difference too. I’m glad I haven’t yet as there has been so much dirt & dust with all the Reno’s I’ve done. Now that I’m almost done, I’m tempted to re do the laminex in the kitchen. We will have to wait & see on that.
That's all for now. Will continue soon!
|
|
|
|
Post by FredTransit on Aug 14, 2015 19:29:34 GMT 1
Looks like you got it. Can we keep this thread for instructions and problems though?
|
|
|
|
Post by jonochap on Aug 14, 2015 21:23:35 GMT 1
Maybe one of the mods will move it for you.  |
|


